Getting Started
Introduction
This guide explains how to download, install, and begin using BluePOS Go, a mobile payment application designed to securely process transactions and manage payments. Follow the steps below to install the app and sign in to your account.
Download the App
- Open the Google Play Store on your Android device.
- Tap the search bar at the top of the screen.
- Type BluePOS Go and press Search.
- Locate BluePOS Go in the search results.
- Tap Install and wait for the app to download and install on your device.
Open the App
- Once installation is complete, tap Open from the Google Play Store.
- You can also open the app by locating the BluePOS Go icon on your device’s home screen or in your app drawer.
- Tap the BluePOS Go icon to launch the app.
Log In to BluePOS Go
Once BluePOS Go is installed and opened, you will need to log in using your PayConex account credentials.
The login information used for BluePOS Go is the same as the credentials used to access your PayConex account.
Steps to Log In
- Open BluePOS Go on your device.
- On the Login screen, enter your Account ID.
- Enter your Username.
- Enter your Password.
- Tap Log In to access the application.
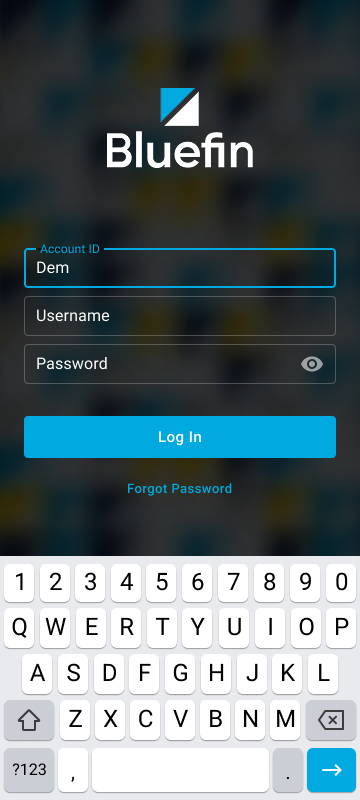
Login HelpIf you experience issues logging in, verify that your Account ID, Username, and Password match the credentials used for your PayConex account. If the issue persists, contact your system administrator or support team for assistance.
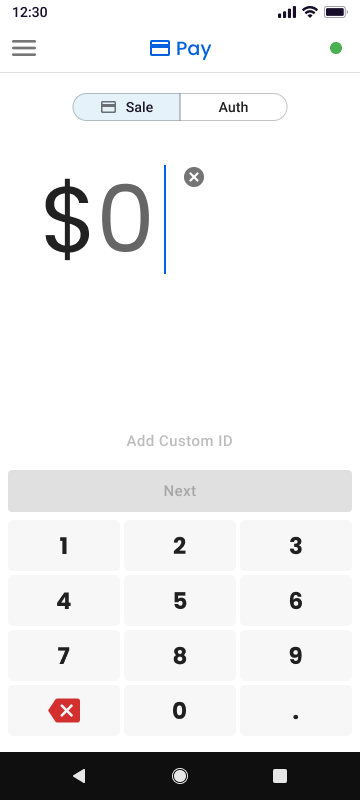
Pay Screen Overview
After logging in, you will be directed to the Pay screen. This is the default screen used to process payment transactions.
At the top of the Pay screen, you will see two transaction options:
- Sale: Processes a payment immediately.
- Auth: Authorizes a payment amount on the customer’s card without capturing the funds immediately.
To select a transaction type, tap either Sale or Auth. The selected option will determine how the transaction is processed.
App Navigation Overview
The main navigation menu allows you to access other areas of BluePOS Go.
To open the navigation menu:
- Tap the menu icon (☰) located in the corner of the Pay screen.
- The navigation menu will appear displaying the main sections of the app.
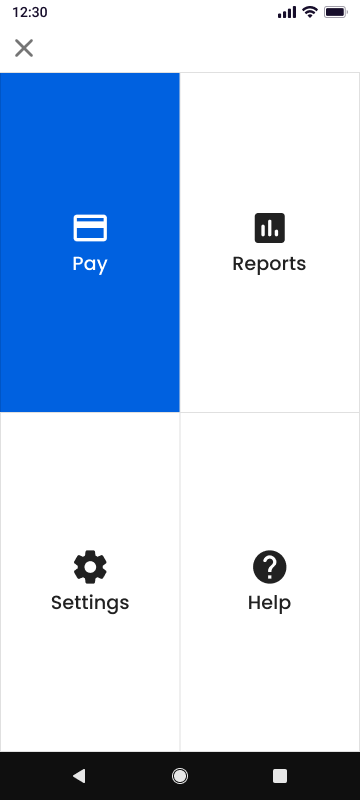
The navigation menu includes the following options:
- Pay: Return to the Pay screen to process transactions.
- Reports: View transaction history and reporting information.
- Settings: Manage application and account settings.
- Help: Access support resources and assistance.
Select any option from the menu to navigate to that section of the app.
Updated about 13 hours ago