Receipts
Configure Receipt Options
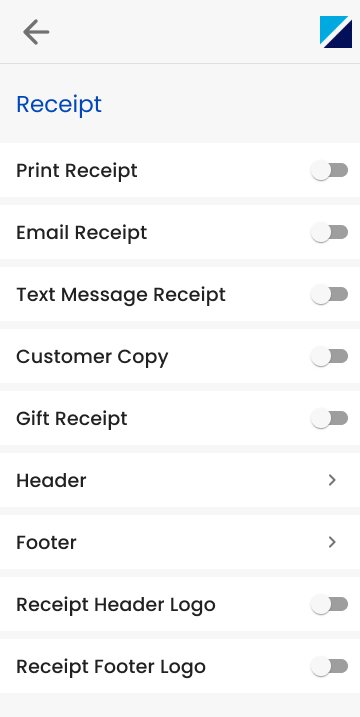
You can customize receipt settings to fit your business needs. Follow the steps below to access and configure receipt options in your system.
- Navigate to the Admin Screen.
- Enter password and select Enter.
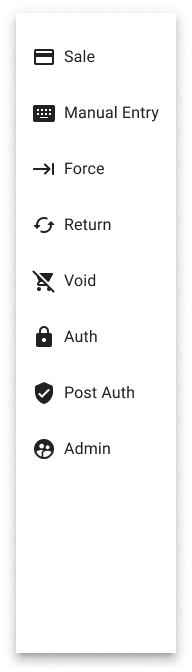
- Select Receipts.
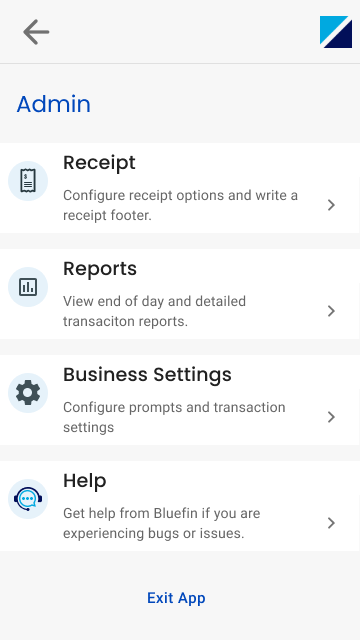
You will be directed to a screen where the following Receipt options can be configured.
| Receipt Option | Description |
|---|---|
| Print Receipt | Automatically prints a physical receipt for the customer at the end of a transaction. |
| Email Receipt | Sends a digital copy of the receipt to the customer's provided email address. |
| Text Message Receipt | Texts a receipt to the customer’s phone number for convenient digital record-keeping. |
| Customer Copy | Prints a receipt labeled for the customer, giving them a clear, physical record of their transaction. |
| Gift Receipt | Prints a receipt that excludes prices, allowing customers to provide a receipt for gift purposes without revealing the purchase amount. |
| Header | Opens a screen where users can customize the text at the top of the receipt for personalized or branded content. |
| Footer | Option opens a screen where users can customize the text at the bottom of the receipt, allowing for personalized messages or branded content. |
| Receipt Header Logo | Displays logo in the header. |
| Receipt Footer Logo | Displays logo in the footer. |

Example of Header/Footer Customization Screen.

Updated 7 months ago
