Getting Started
Your terminal is preprogrammed and ready to use as soon as it is connected to your communication network (WiFi/cellular.)
Network Configuration May Be Required
Depending on your organization’s network security settings, the Network Team may need to modify the firewall to allow the device to communicate properly.
The following URL and port should be open, so the device can communicate:
- TRANSACTIONS URL: api.payconex.net on PORT 443
- APP / UPDATE PUSH URL: t.paxstore.us on PORT 9080
Setting Up Your Terminal
From the Android settings in your device, you can set up your WiFi / Cellular Network and configure the device date and time.

Connecting to WIFI
WiFi Connection Limit
The device can only connect to one WiFi network at a time.
Save Passwords for Multiple Networks
You can save your password for more than one network for easy reconnection.
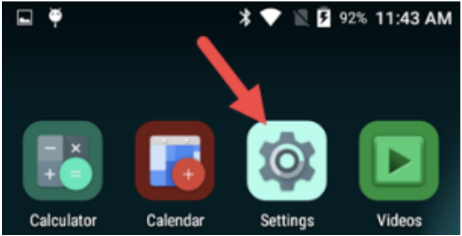
- From the terminal home screen select the Android SETTINGS app.
- Enter the password and select OK. (The default password is 9876 or pax9876@@)
- Select WI-FI to see the available networks and then select NETWORK.
- Enter the password and then select CONNECT. (Do not select Advanced options.)
Managing Your Android Settings Password
If you change the default Android settings password, be sure to keep track of it. Neither Bluefin Support nor the manufacturer, PAX, can assist with password recovery if it is lost.
Using a Cellular Network
You can install a T-Mobile IOT SIM card to run transactions with a cellular connection.
Authorized Cellular Provider
T-Mobile is the only approved cellular provider for running transactions. Other providers like AT&T and Verizon are not authorized.
Setting the Date & Time
Review device date, time, and time zone:
- From the terminal home screen select the Android SETTINGS app.
- Scroll down to SYSTEM and select DATE & TIME.
- Review the Date, Time and TimeZone. If any of these are incorrect, continue with the steps below.
- Disable Automatic time zone.
- Tap SELECT TIME ZONE and scroll to select your time zone.
- Based on your preference, select USE 24-HOUR FORMAT to toggle the 24-hour format on/off
- Select SET DATE and then manually select the date and tap OK.
- Select SET TIME and then manually select the hour, minutes, AM/PM and select OK.
- Select the back arrow at the top of the screen when you’re finished.
Accessing the App
- From the home screen, select the BluePOS App.
- Click anywhere on the splash screen.

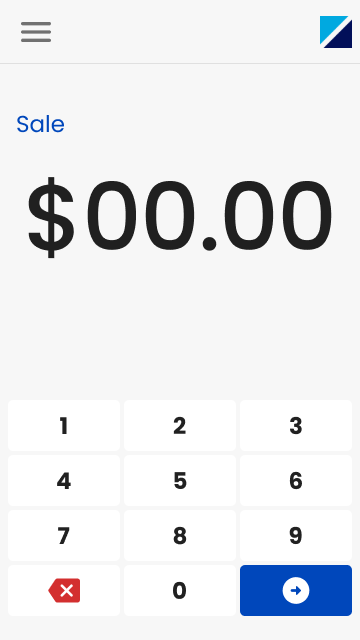
- You will be directed to the Sale screen.

Accessing the Main Menu
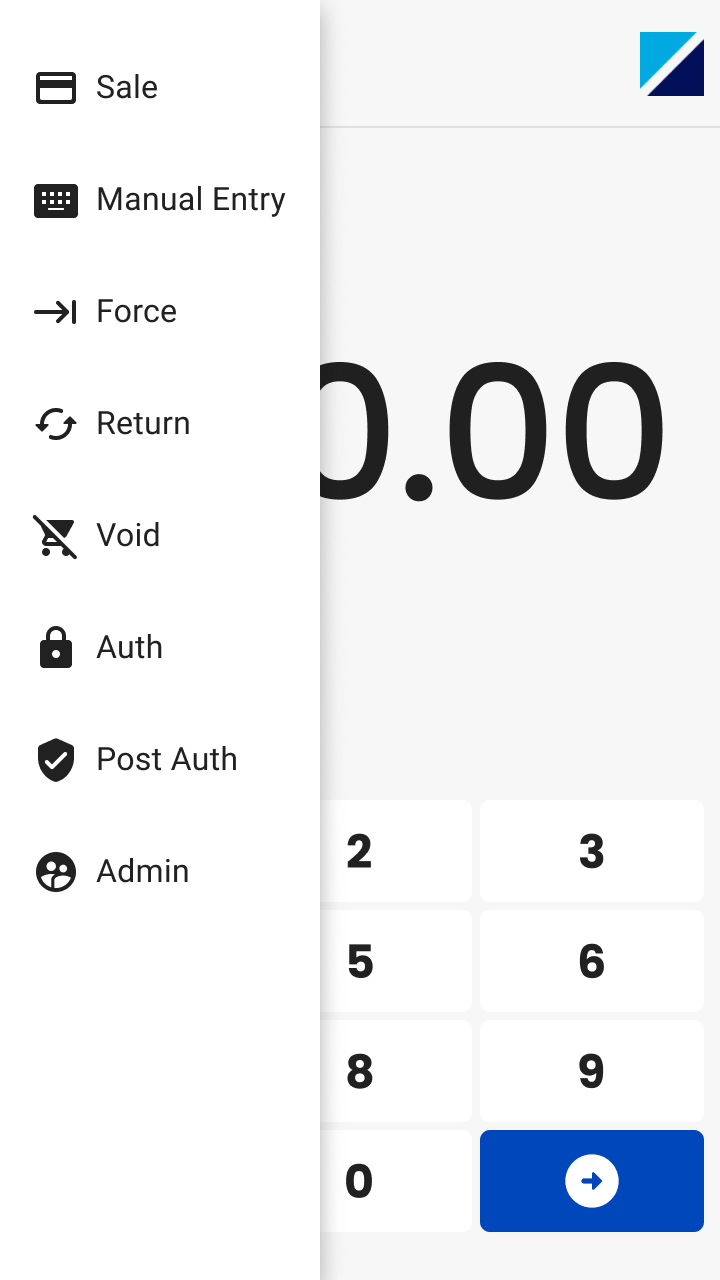
To Access the Main Menu, click on the hamburger icon from the Sale screen.
Menu Options Depend on Admin Settings
Some options will only appear in the Main Menu if they have been configured in the Admin Menu.

Updated 6 months ago
