Managing Device Swaps
User Role Access: Partner Supervisor
Follow these steps to swap out a device:
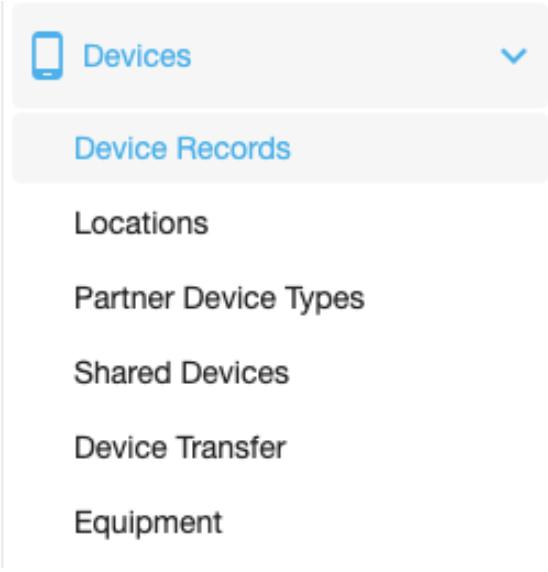
- Go to Device Records
- Navigate to the Device Records page.
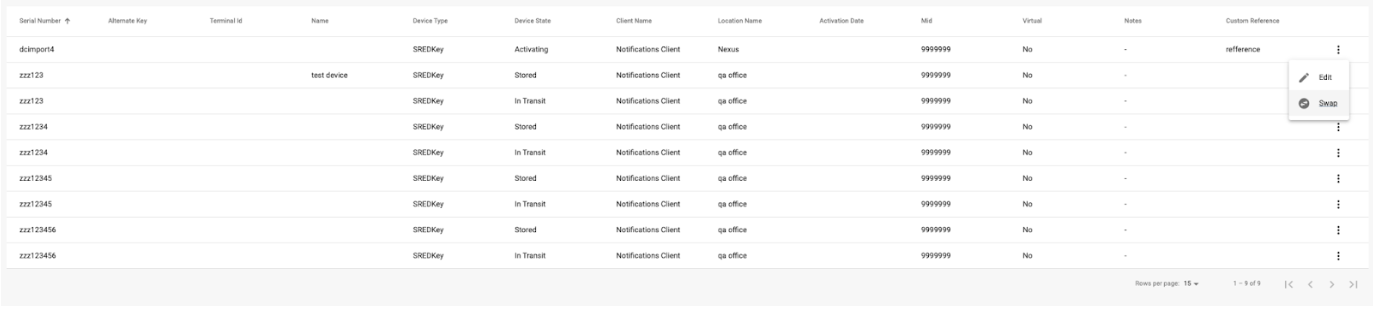
- Open the Swap Menu
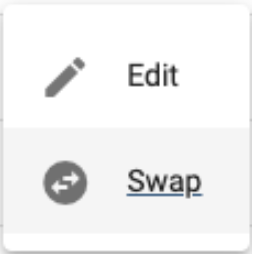
- Click the options menu (three dots) next to the device you want to swap.
- Select the device swap icon to start the process.
- Add New Device
- Fill in the required fields and click Next.
- Serial Number
- Device Type
- Device Build
Pre-populated fields: - Location
- Partner
- Client
Optional fields: - Alternate Key
- Name
- Terminal ID

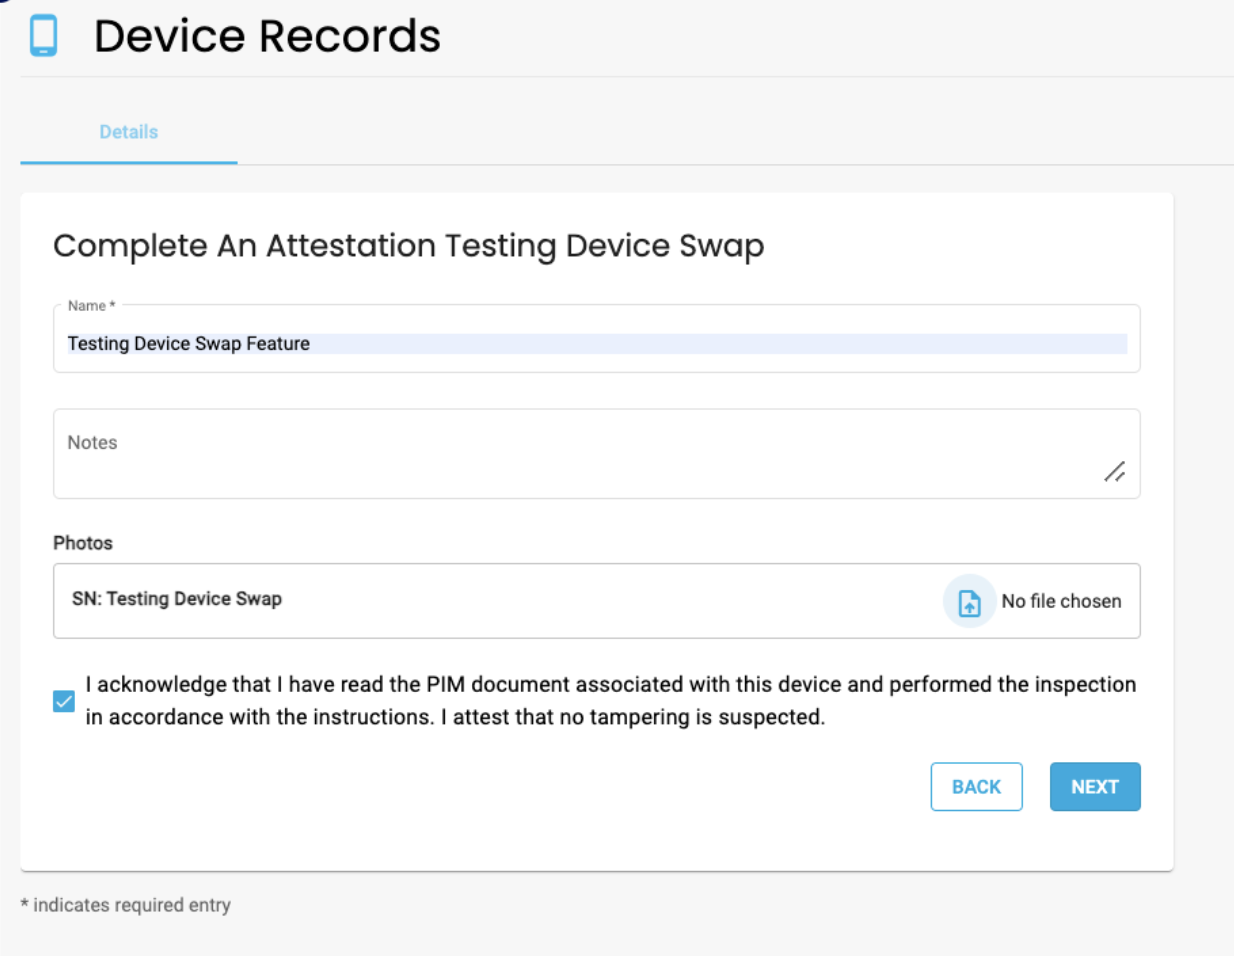
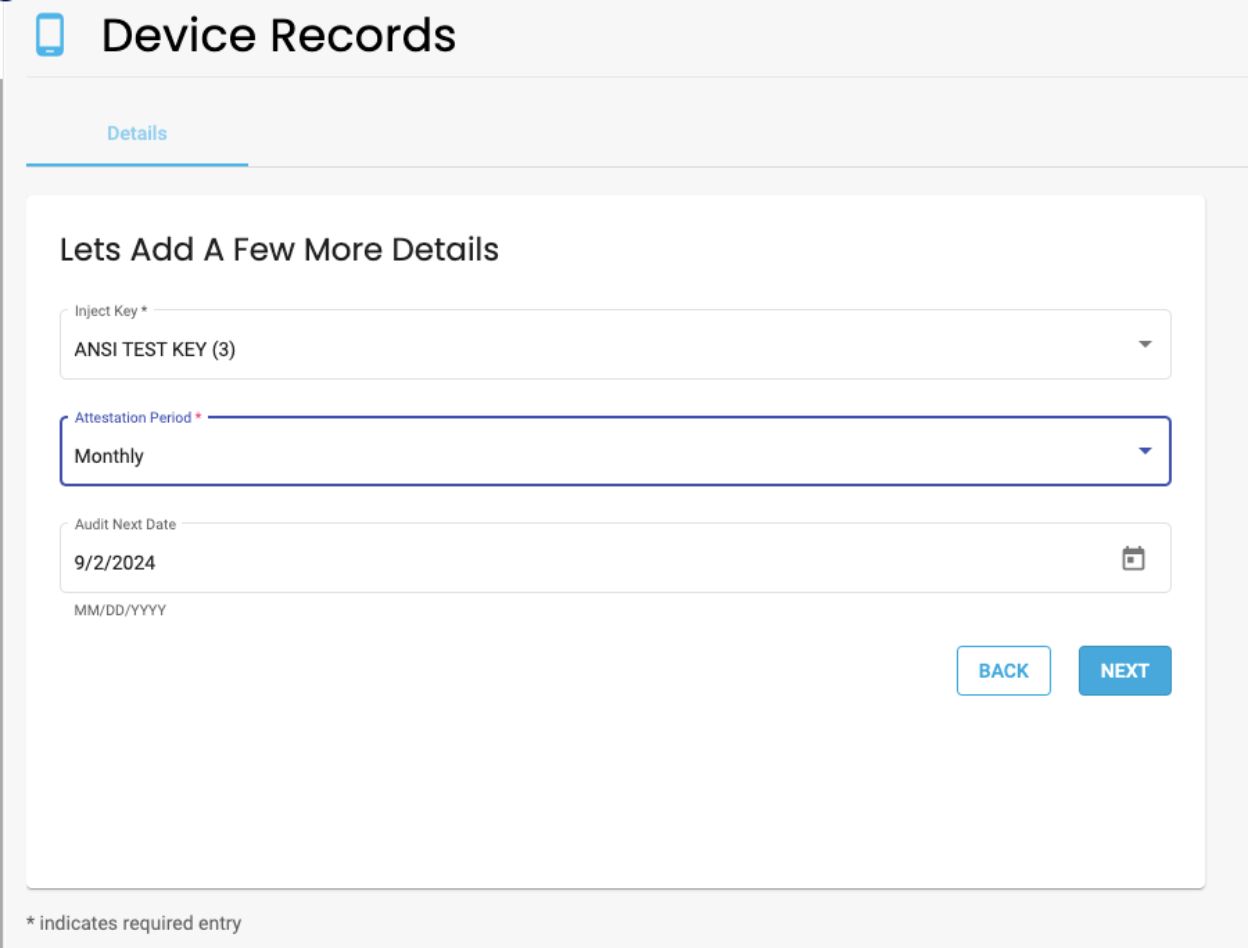
- Complete Attestation
- Fill out the attestation for the new device and click Next.
- Select Inject Key and Attestation Period
- Choose the Inject Key and Attestation Period, then click Next.
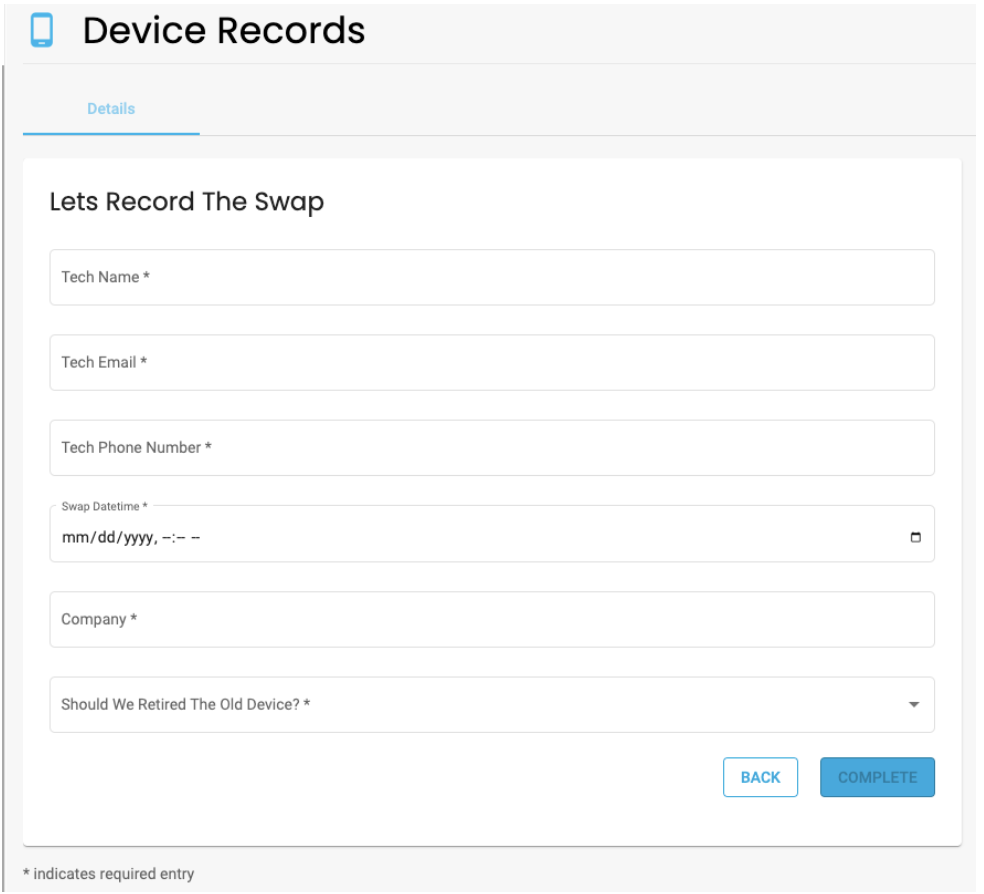
- Record the Swap
- Enter the required details and click Complete.
- Tech Name
- Tech Email
- Tech Phone Number
- Date and Time of Swap
- Company
- Retire or RMA the Old Device

- Finish Up
- You’ll see a confirmation message.
- The new device will move to Activating.
- The old device will be Retired or placed in RMA, based on your choice.
When a device swap is completed, the swap will be automatically recorded in the lifecycle history of both the old device and the new device. This allows you to easily track the full history and changes for each device.
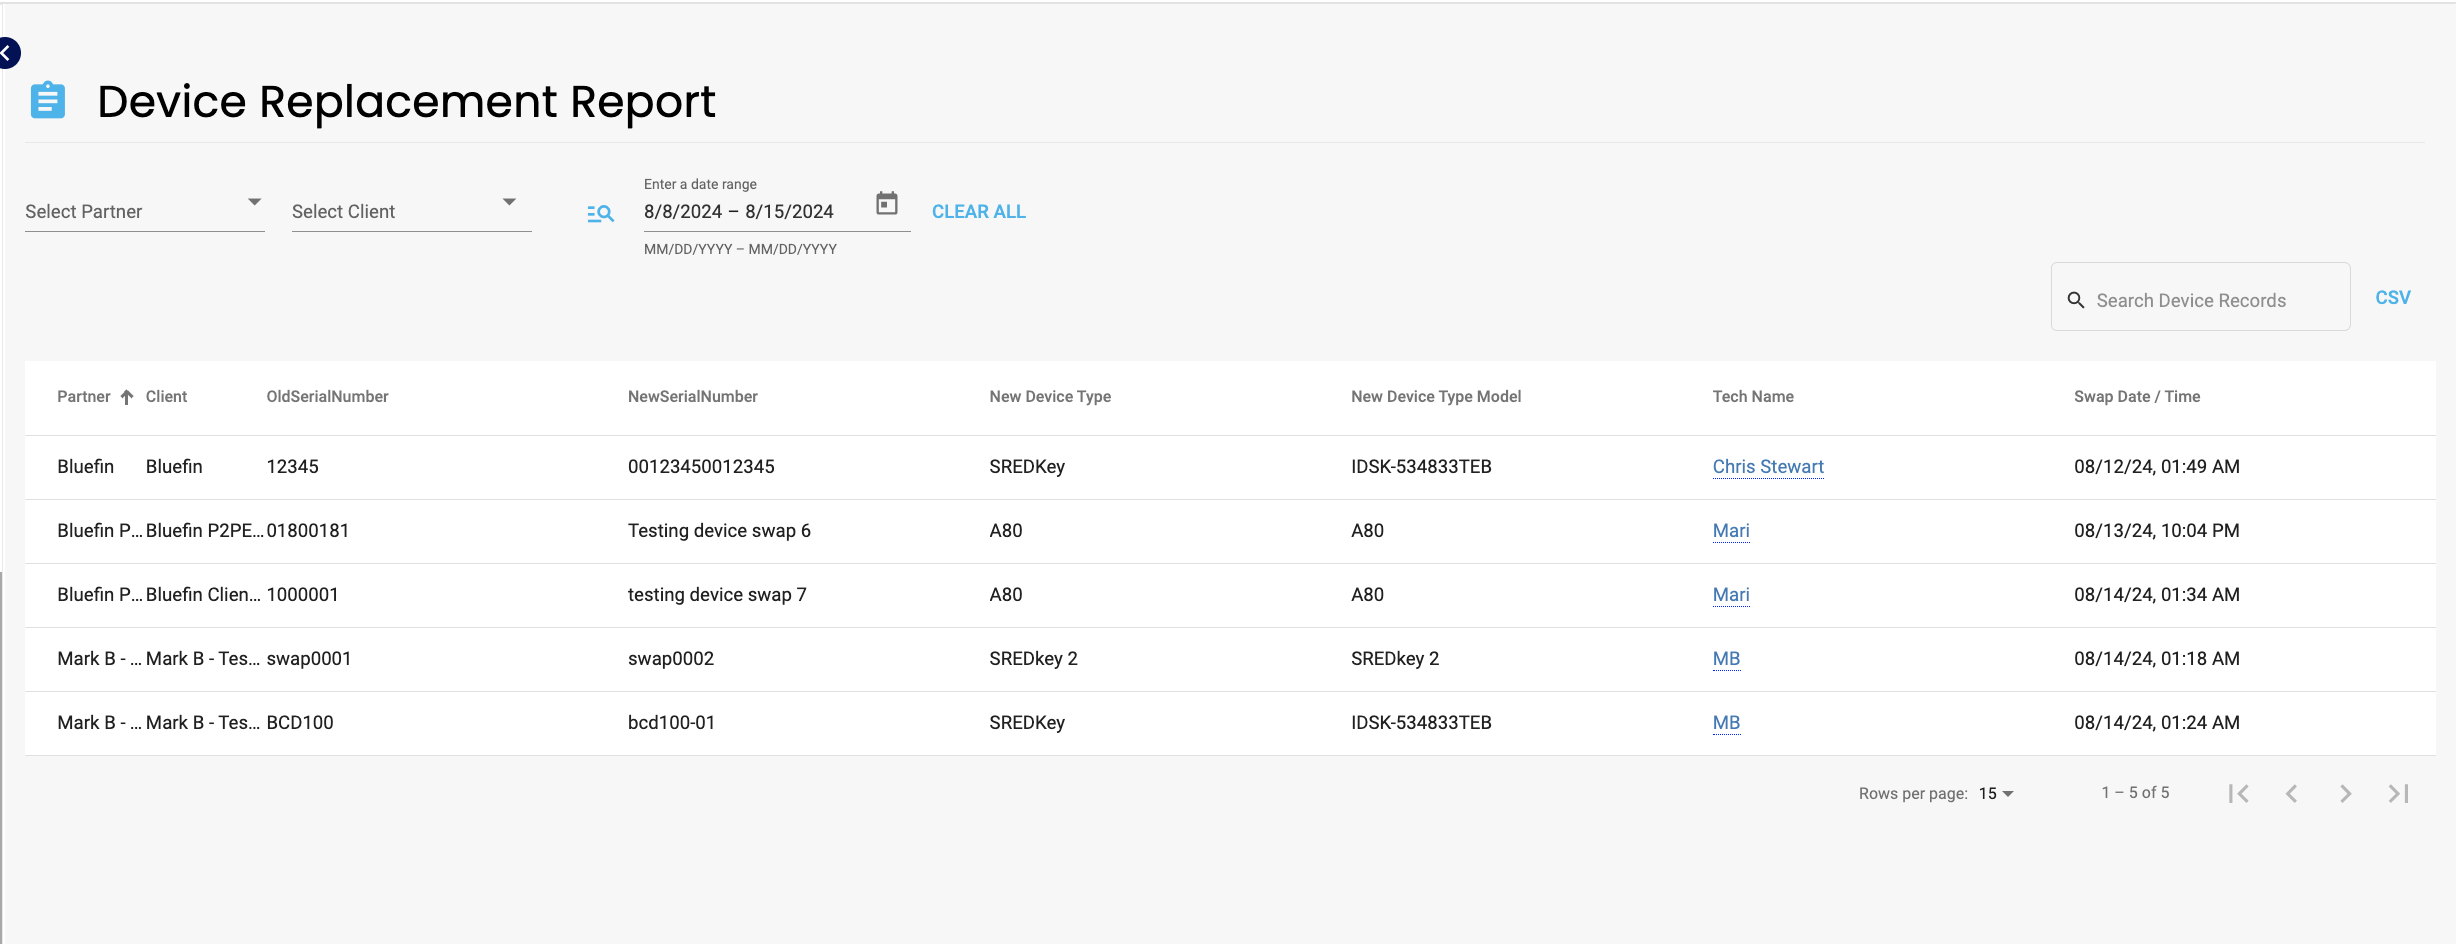
Device Replacement Report
You can also access the Device Replacement Report in the Reports tab. This report gives a summary of all devices that have been swapped out, so you can easily see which devices have been replaced.
Updated 3 months ago
Did this page help you?