Integration with ShieldConex® Orchestration involves a combination of both API calls and configuration via the ShieldConex® Manager. There are different managers for different environments:
Manager Environment
URL
Staging manager
https://portal-staging.shieldconex.com
Certification manager
https://portal-cert.shieldconex.com
Production manager
https://portal.shieldconex.com
The ORCA Configuration is the key to the API, allowing you to customize settings, set additional options, and enhance your developer experience. The ORCA Configuration object is detailed under the ORCA Configuration JSON Schema Definitions section in the References page.
API Endpoints
Choose one of the following endpoints to access ShieldConex® Orchestration. If necessary, in the POST requests detailed in the API Examples section, replace {-*} with the chosen environment name.
Environment Name
Endpoint
Staging environment
https://proxy-staging.shieldconex.com
Certification environment
https://proxy-cert.shieldconex.com
Production environment
https://proxy.shieldconex.com
Quickstart Guide
Throughout the API Examples, we refer to these parameters in the ORCA configurations.
📘
Note
As you go through the API Examples, you replace these parameter values with your own as provided by the ShieldConex® Portal and P2PE Manager.
Parameter
Description
partnerID
Your ShieldConex® partner identifier. For instance, WATERFORD.
partnerKey
The key for your ShieldConex® partner. For instance, ef1ad938150fb15a1384b883a104ce70.
The serial number of the device used to process the transaction. This field is optional as the decryption is optional to begin with, and even if Decryptx® is used, the device payload might contain the serial number.
deviceType
The type of device used to process the transaction. This field is optional as the decryption is optional.
devicePayload
The device payload to be decrypted. This field is optional as the decryption is optional.
For the Quickstart process, follow one of the API Examples. We recommend that you start with JSON Tokenization.
Creation of ORCA Configuration
First, create an ORCA Configuration via the ShieldConex® Manager. Under the Manage Orchestrations tab, select your partner name and client from the dropdown and click on Create ORCA.
Create ORCA
From here, give your configuration a name, and generate a reference value. Select the partner name and client. Then, in the box below, for a quick start - copy in the ORCA Configuration provided by the chosen API Example. Replace any {variables} with the corresponding values or authentication token, and save the configuration.
Once the configuration has been saved, you should see it in the list of available Orchestrations. The reference that was generated and now appears in the list is known in this document as the configReferenceID. This is required for the request configuration.
🚧
Note
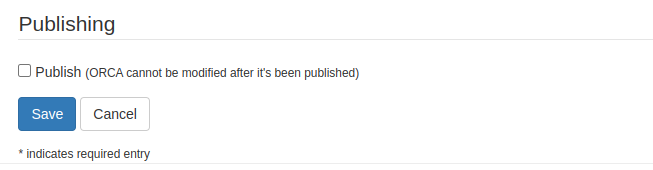
If an ORCA has been published, it cannot be modified afterwards.
This can be seen in the Publishing section of an ORCA.
Publishing ShieldConex® ORCA
ORCA Configuration Essentials
Creating an ORCA configuration from scratch involves two essential components:
proxy: Settings required for the target destination (e.g., payment processor).
requestActions: A sequence of steps to process the request payload.
Proxy Settings
Here you set up the settings for the target destination. The required fields include:
method: HTTP method accepted by the target destination.
target: URL of the target destination ShieldConex® Orchestration interacts with.
authorization: Authorization header required of the target destination.
The ORCA configuration specifies a sequence of actions executed against the request payload. ShieldConex® and Decryptx® are key components driving these actions, serving as the cornerstone of payment payload security and significantly reducing PCI scope. Multiple actions can be executed consecutively, provided that your ORCA configuration is properly structured, with non-conflicting and well-organized transformationPaths.
An action consists of a set of instructions defining the paths to be extracted and replaced with the action specified. The replacement/substitution is forwarded to the target destination.
🚧
Note
By default, instruction type is substitution. However, it can be passthrough for a shieldconex action, enabling tokenization without replacing any data in the payload and retrieving tokens asynchronously using the BFID returned in the response of the ORCA API request.
A Decryptx® action extracts, parses and decrypts Card-Present EMV payload data. This kind of action requires format and dataType in order to substitute the elements within the payload, process and forward them to the target destination.
Finally, we combine the proxy settings and actions to create our first ORCA configuration from scratch. You are now all set up for the API Examples and Example Use Cases where we show a vast assortment of ORCA configurations that you can use in combination with the ORCA Configuration JSON Schema Definitions to come up with the most suitable configuration according to your needs.
You also need a template for ShieldConex® actions, which you create via the ShieldConex® Manager. Similarly, under the Manage Templates tab, select your partner name and client from the dropdown and click on Create Template.
Give your template a name, select the partner and client, and generate a reference value. If required, you can change the Access Mode of your template.
The API examples provided all use three field template types: Card Information, Bank Account Number, and Routing Number. If you wish, you can follow the sample template configurations below.
For the comprehensive user guide for ShieldConex Templates, refer to User Guide Templates.
Card Information
Field Type: Card Information
Display Name: Card Information
Data Protection Method: FPT
Use Non Idempotent Tokens: No
Cardholder Name: No
Expiration Date: Yes
Security Code: Yes
Card Number
System Name: scx_token_card_number
Data Masking: Tokenize All Inputs in Field
Label: Credit Card Number
Placeholder Text:
Luhn Check: None
Expiration Date
System Name: scx_token_card_expiration
Label: Credit Card Expiration
Placeholder Text:
Security Code
System name: scx_token_card_verification
Label: Credit Card Verification
Placeholder Text:
Bank Account Number
Field Type: Bank Account Number
Display Name: Bank Account Number
Data Protection Method: FPT
System Name: scx_token_bank_account_number
Data Masking: Tokenize All Inputs in Field
Placeholder Text:
Width: 100%
Routing Number
Field Type: Routing Number
Display Name: Routing Number
Data Protection Method: FPT
System Name: scx_token_bank_routing_number
Data Masking: Tokenize All Inputs in Field
Placeholder Text:
Width: 100%
There are further options for iframe customization. For the purposes of this Quickstart section, we recommend that you leave this blank, and leave the template itself unpublished.
Once you click Save, your newly created template should appear in the list of available templates. The reference generated is required for the request configurations. It is known as the templateRef.
Putting it all together
Once you have your configReferenceID and your templateRef, you can copy the Request Configuration from your chosen API example into your application, again replacing any {configVariables} with the corresponding values, including your target URL (payment processor or a simple webhook for testing purposes). You should receive a 200 response.
🚧
Note
As mentioned above, creating/using a template is necessary if you ORCA configuration applies shieldconex actions.
Orchestration Logs
Orchestration Logs are used for debugging purposes to investigate the payload data sent to ORCA, the responses or errors generated, ShieldConex®/Decryptx® actions involved, and what is ultimately proxied back to the source/client. We recommend that you don't make incoming and outgoing data entirely visible for these logs for maximum security. This can be configured per ORCA configuration via logSettings with requestMasks and responseMasks.
First, we filter for Orchestration transactions based on the partner, client and finally selecting the ORCA to focus on.
Orchestration Logs
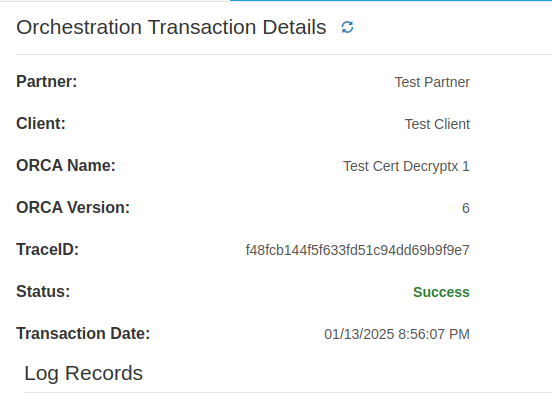
By selecting an ORCA transaction, you will be able to see the following details of the transaction by default.
For example,
ORCA Transaction Details
The Log Records consist of the following tabs:
ShieldConex Orchestration Request
ShieldConex Action (action through ShieldConex® API - tokenization/detokenization) / Parser (Decryptx® Parser Action)
Target Server Request (what comes in and out of the target destination (payment processor))
These are shown in the following screenshot.
ORCA Transaction Log Records
📘
Note
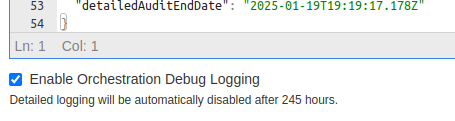
It is important to note that in order to have these at your disposal, Enable Orchestration Debug Logging must be checked. This option can be found right below your ORCA configuration.
Enable Orchestration Debug Logging
Orchestration Reports
In ShieldConex® Manager, two new reports have been introduced under the Reports menu to enhance your ability to monitor and analyze orchestration activities:
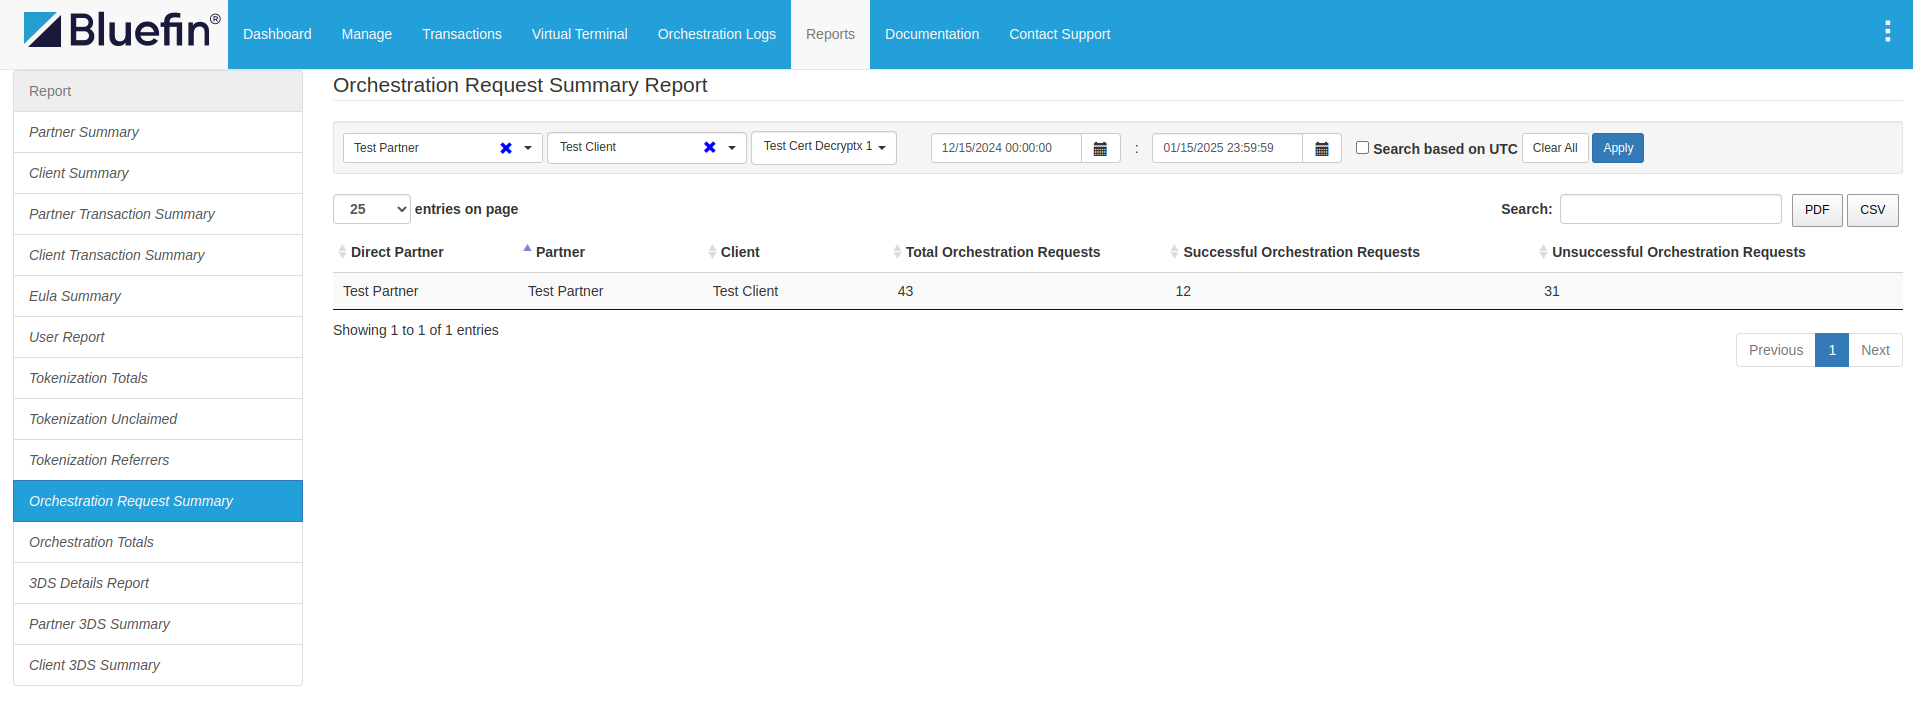
Orchestration Request Summary Report:
Designed to offer a detailed numeric breakdown, this report generates a comprehensive table that displays the total number of requests processed, organized on a per ORCA basis. This granular data helps in assessing individual ORCA performance, tracking system load, and pinpointing specific areas that may require attention.
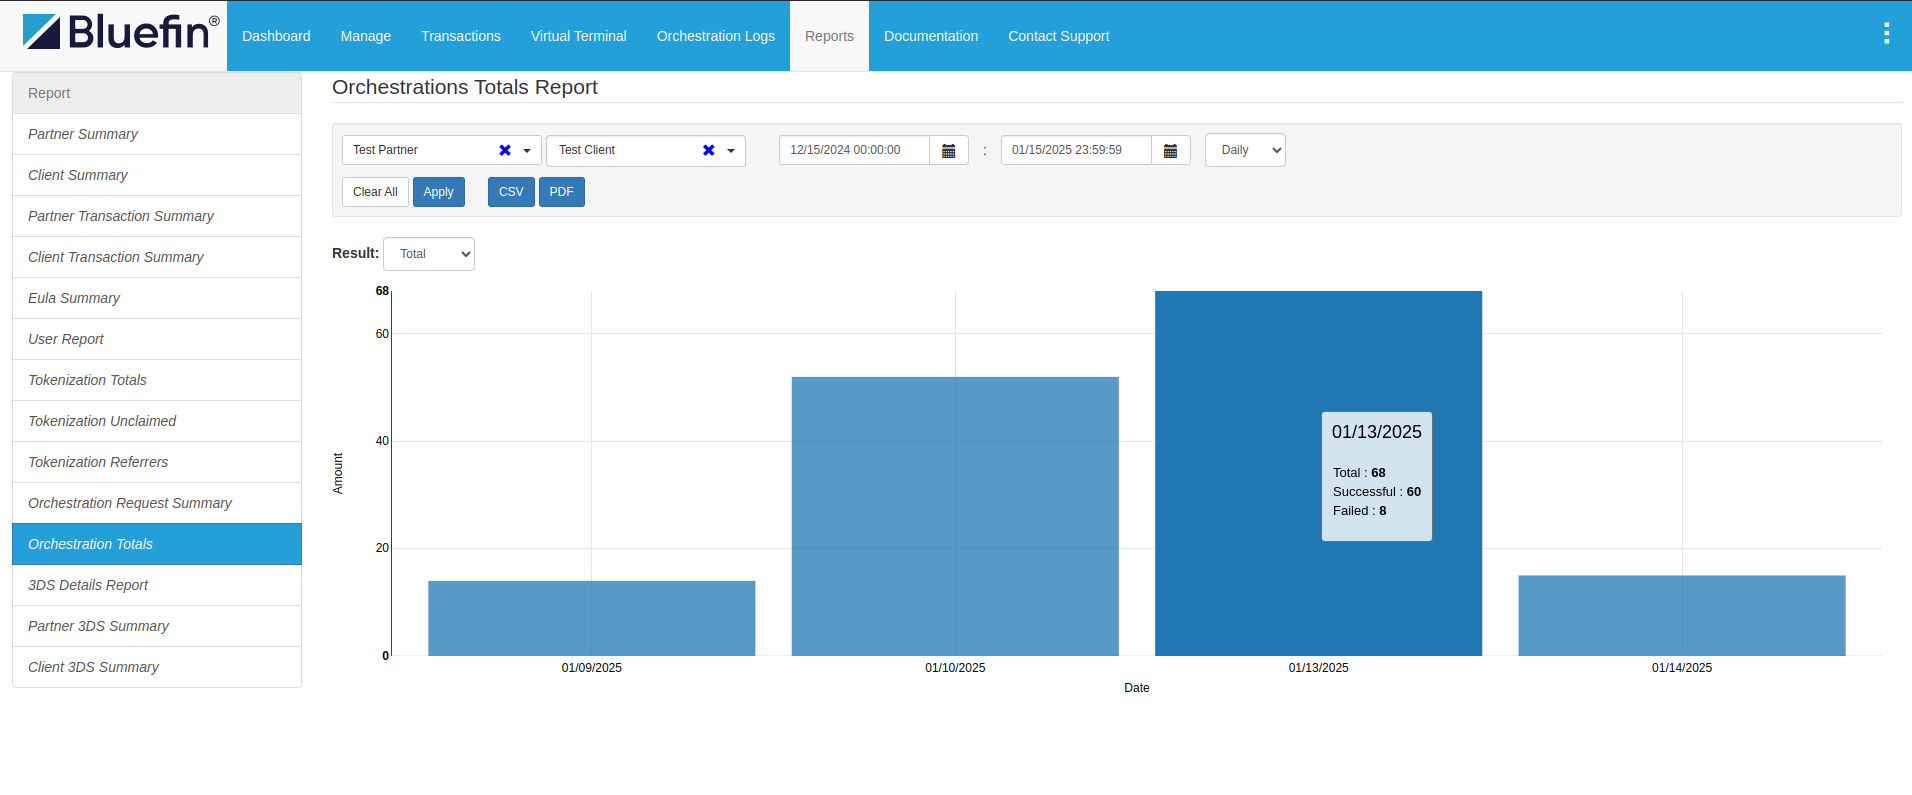
Orchestration Totals Report:
This report provides a visual representation of your orchestration requests in the form of a customizable bar graph. You can configure the report to display data on a daily or hourly basis, giving you clear insights into key operating metrics such as request volume trends and overall system activity. This enables you to identify patterns and optimize operations effectively.
Both reports are accessible directly from the Reports menu, ensuring you have the tools needed to monitor orchestration activities efficiently.
Orchestration Request Summary
ShieldConex® Orchestration Request Summary
Orchestration Totals
ShieldConex® Orchestration Totals
Testing with Webhooks
For testing purposes, there is no need to use a real payment processor. Instead, you can configure your own webhook as the target destination in your ORCA configuration. This allows you to quickly test and experience ShieldConex® Orchestration in action while using the examples from the API Examples page.
For suggestions on the webhook tools that are best to use, please reach out to our Bluefin Technical Team.