
Administration
Manage settings, users, partners, and templates
Managing Your Personal Settings
To access your personal settings:
- In the upper-right corner, select the More options menu (vertical ellipsis icon), and then select your username.
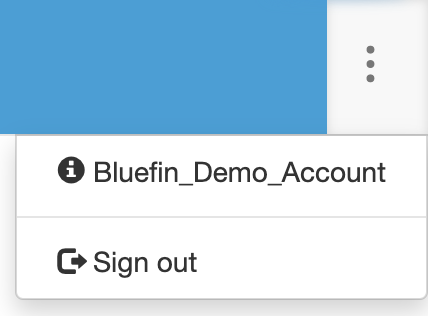
- Select the setting you want to update from the left navigation pane.
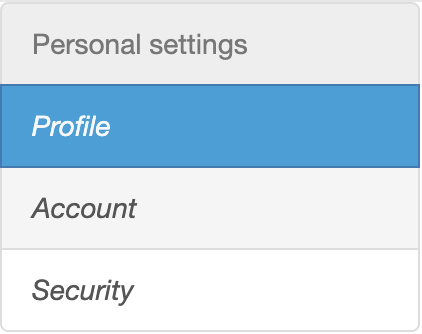
| Setting | Description |
|---|---|
| Profile | Update your name and email address. |
| Account | Update your password. |
| Security | Set up two-factor authentication. |
- Follow the prompts to update the selected information.
Setting Up Two-Factor Authentication for an Existing User
Two-factor authentication (2FA) adds another layer of security to your ShieldConex account. 2FA is required for all ShieldConex accounts in the Certification and Production environments. After you set up 2FA, you must enter a time-based code from an authenticator application when prompted during sign-in.
Before you begin, install an authenticator application on your mobile device.
-
In the upper-right corner of ShieldConex, select the More options menu (vertical ellipsis icon).
-
Select your username.
-
Select Security from the left navigation pane.
-
If the 2FA status is Off, select Set up two-factor authentication.

-
Open your authenticator application and scan the QR code displayed by ShieldConex. If you cannot scan the QR code, select enter this text code and manually enter the displayed setup key in the application.
-
Enter the six-digit code generated by the authenticator application.
-
From the Remember Devices list, select how long ShieldConex should remember the authenticated device.
-
Select Continue to complete the setup.
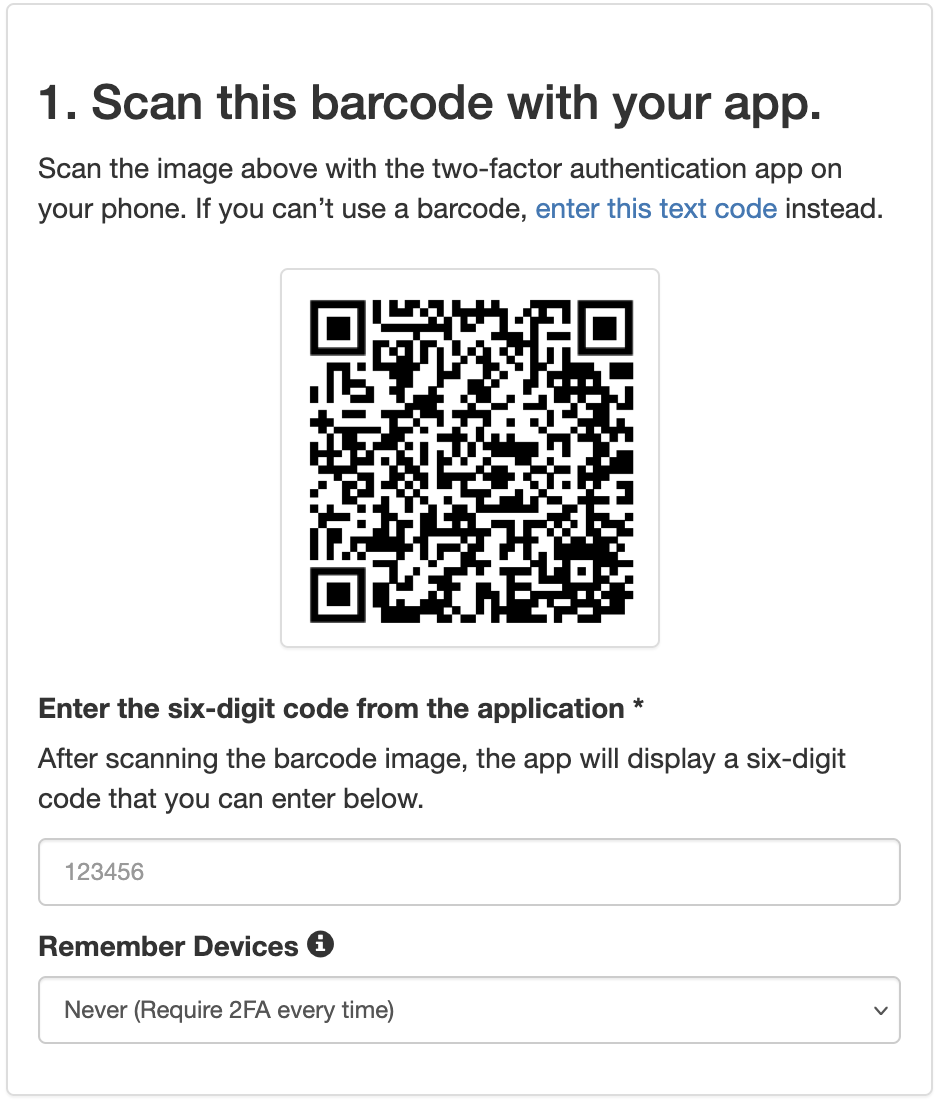
After setup is complete, ShieldConex displays the 2FA status as On. The next time you sign in, enter the code generated by your authenticator application when prompted.
NoteAuthenticator codes expire after a short period. If a code is rejected, enter the current code displayed in the application.
Resetting Your Password
If you forget your password:
- On the sign-in screen, enter your username, and then select Forgot password.
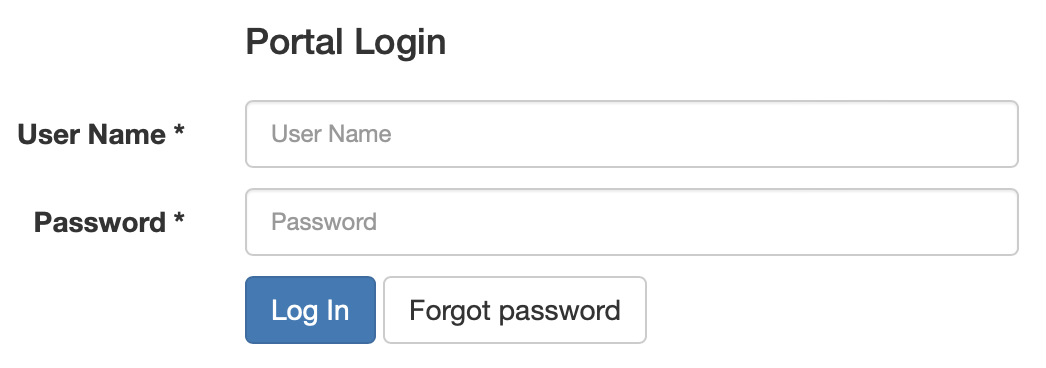
- Follow the prompts to reset your password.
Managing Users
Select Manage > Users from the left navigation pane. ShieldConex displays a list of users.
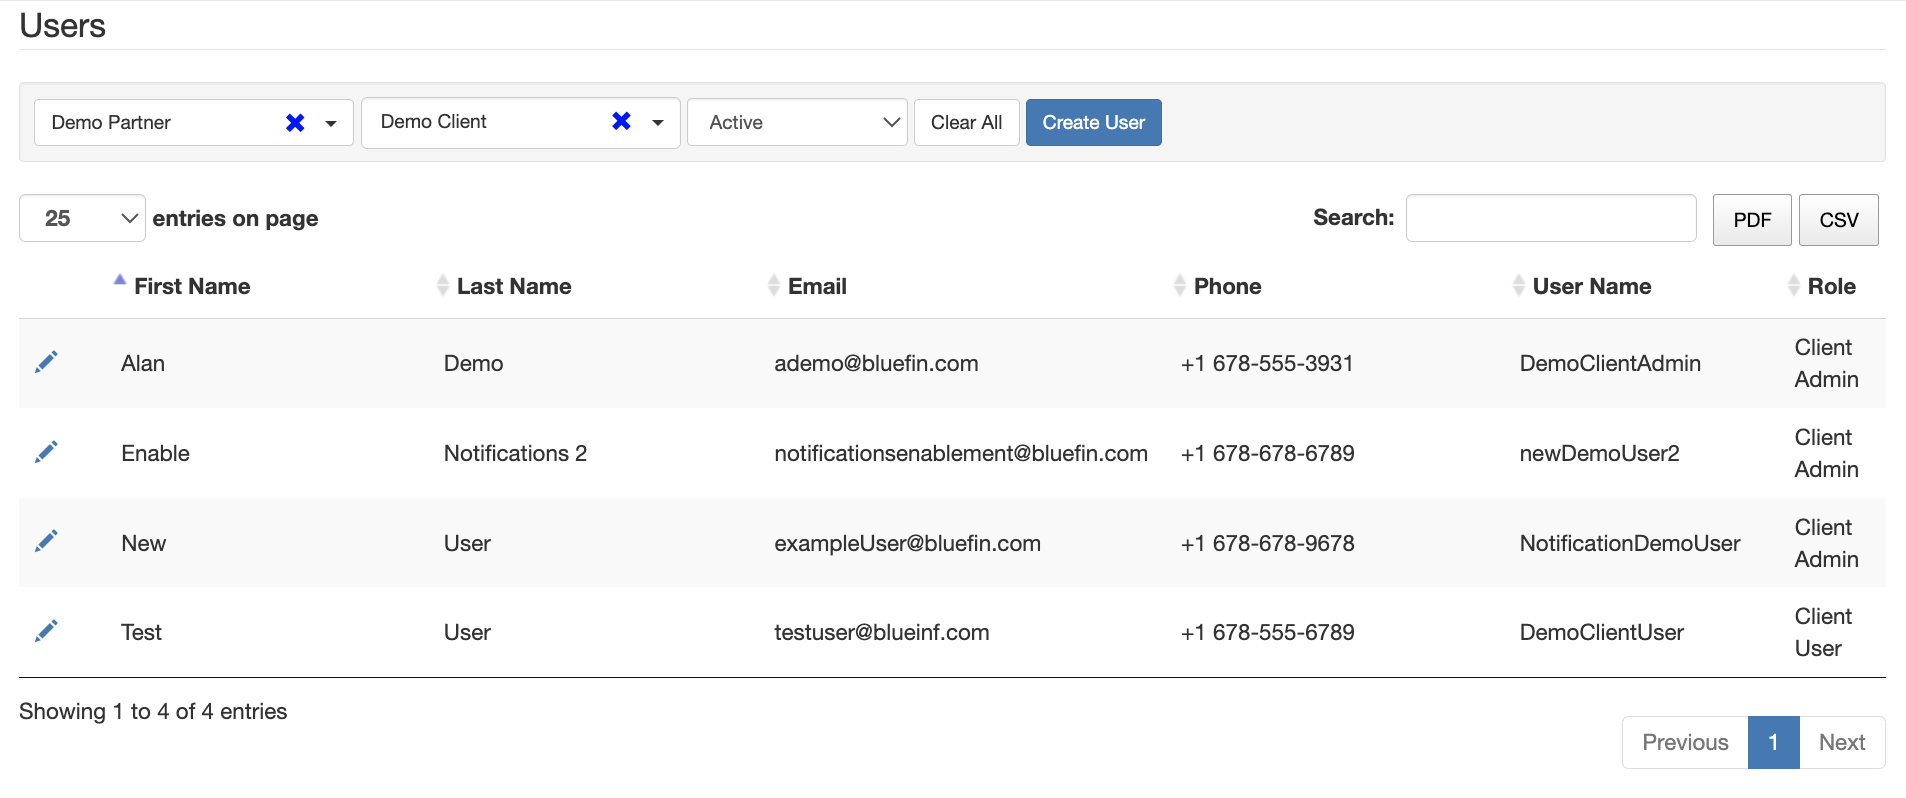
Use the filters at the top of the page to filter the list by partner, client, or status.
Adding a User
- Select Manage > Users, and then select Create.
- Enter the user’s information.
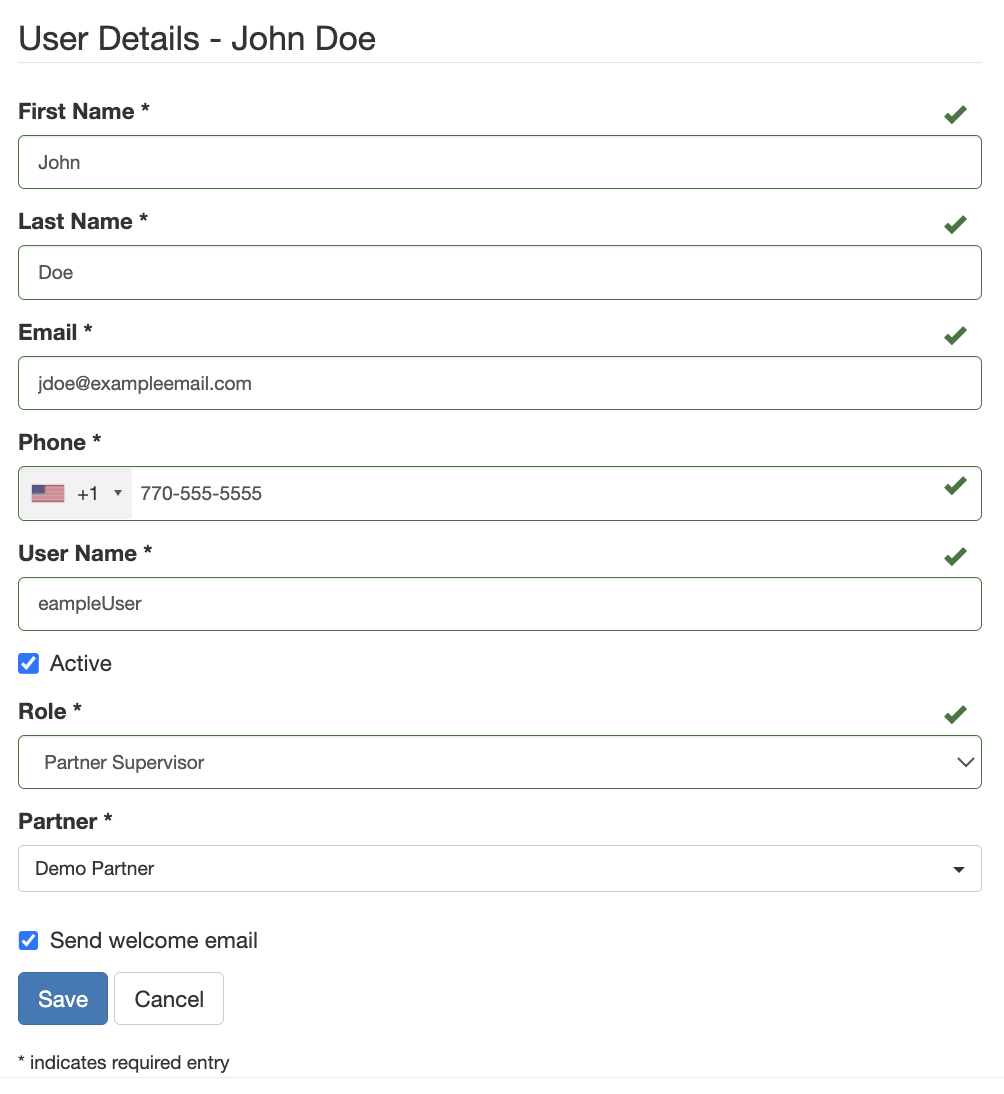
- Select the Active checkbox.
- Select a Role.
- Select Send welcome email.
- Select Save.
Updating a User
- Select Manage > Users.
- Locate the user, and then select Edit (pencil icon).
- Update the fields as needed.
- Select Save.
Sending a User a Password-Reset Email
- Select Manage > Users.
- Locate the user, and then select Edit.
- Select Send welcome email. The user receives an email with a link to access ShieldConex and is prompted to update their password.
- Select Save.
Managing Partners
ImportantPartner and System roles can create sub-partners. Only System Administrators can create root partners.
To create a partner or sub-partner:
- Select Manage > Partners.
- Select Create.
- Complete the required fields.
| Field | Description |
|---|---|
| Parent Partner | Select a parent partner when applicable. Note: You must select a parent partner when creating a sub-partner. |
| Name | Required. Enter the partner or sub-partner name. |
| Partner ID | Required. Bluefin assigns the Partner ID when creating a root partner. A specific ID can be requested, and a Partner Supervisor can modify the ID later. For a sub-partner, the user creating the organization node sets the Partner ID. This includes Partner Supervisors who belong to the root partner organization. Partner IDs must be unique. |
| Status | Required. Select the partner’s status. |
| Verification Phrase | Optional. |
| Billing ID | Not required when creating a sub-partner. |
| Contact Person | Required. Enter the contact person’s first name, last name, email address, phone number, and username. Best practice: Use the person’s first initial and last name with the organization’s email domain as the username. Example: [email protected]. Select Active to enable the contact person. Note: ShieldConex automatically creates a user record for the contact person and grants the Partner User role by default. |
| Remember Devices | Optional. Select how long ShieldConex should remember authenticated devices for users who belong to this organization. |
| Two-factor Authentication | 2FA is required for all accounts in the Certification and Production environments. The organization’s 2FA settings apply only to users who belong to that organization. |
| Welcome Email | Select this checkbox to send the new user a welcome email. This option is selected by default. |
- Select Save.
Managing Clients
Adding a Client
- Select Manage > Clients.
- Select Create.
- Complete the required fields.
| Field | Description |
|---|---|
| Direct Partner | Required. Select the partner from the list. |
| Name | Required. Enter the client name. |
| Active | Optional. Select this checkbox to enable the client. |
| Billing ID | Optional. |
| MID | Optional. |
| Contact Person | Required. Enter the contact person’s first name, last name, email address, phone number, and username. Best practice: Use the person’s first initial and last name with the organization’s email domain as the username. Example: [email protected]. Select Active to enable the contact person. Note: ShieldConex automatically creates a user record for the contact person and grants the Client Administrator role by default. |
| Remember Devices | Optional. Select how long ShieldConex should remember authenticated devices for users who belong to this organization. |
| Two-factor Authentication | 2FA is required for all accounts in the Certification and Production environments. The organization’s 2FA settings apply only to users who belong to that organization. |
| Welcome Email | Select this checkbox to send the new user a welcome email. This option is selected by default. |
- Select Save.
ImportantWhen a client record is created, ShieldConex also creates a client administrator user. To create additional users, see Adding a User.
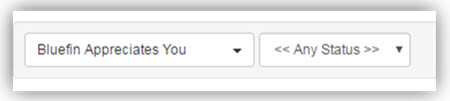
To view the client after creating it, select the applicable partner at the top of the page.
Updating a Client’s Contact Person
- Select Manage > Clients.
- Select the Partner from the list at the top of the page.
- Locate the client, and then select Edit (pencil icon).
- Scroll to the bottom of the page, and then select Update Contact Person.
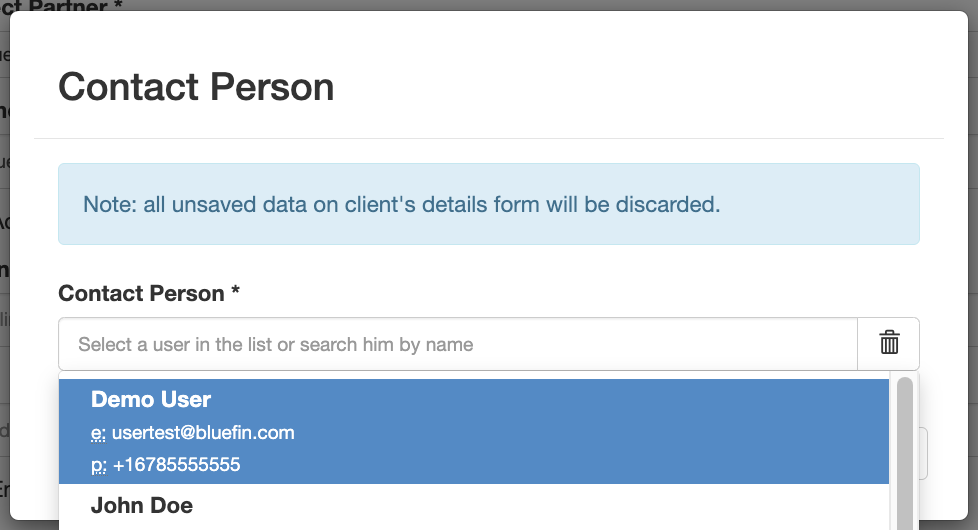
- Select the new contact person from the list. If the person is not listed, create their user record first.
- Select Update.
Templates
Managing Templates
All data processed by ShieldConex is associated with a template. Create a template for a group of fields that ShieldConex should process as a single transaction.
To create a template:
- Select Manage > Templates.
- Select Create.
- Complete the required fields.
| Field | Description |
|---|---|
| Parent Partner | Required when applicable. Select the partner from the list. |
| Client | Required. Select the client from the list. |
| Name | Required. Enter the template name. |
| Reference | Required. Select Generate to create a unique reference for the template. Tip: You need this reference when using the ShieldConex API without the Bluefin iFrame. |
| Fields | Select Add to configure a template field. |
| Field Configuration dialog | Complete this dialog when adding or editing template fields. Field Name: Required. Enter the system field name. Spaces and special characters are not allowed. Method: Select a security method: Format Preserving Encryption (FPE) or Format Preserving Tokenization (FPT). Data Type: Required. Select a data type. Validation: Required. Select a validation type. The available options depend on the selected data type. Mask: Required. Select how the value should be masked. The available options depend on the selected data type. TOKEN_ALL masks the entire value. The following fields apply only to FPT: Group ID: Enter a number or use the up and down controls. luhnCheck: Select this checkbox to require values that pass Luhn validation. The Luhn algorithm is commonly used to validate payment card numbers and other identification numbers. If selected, ShieldConex rejects values that do not pass the validation. nonIdempotentTokens: Select this checkbox to generate a different token each time the same value is submitted. If this checkbox is cleared, ShieldConex generates the same token each time the same value is submitted. |
| iFrame Options | Sort Order: Controls the order in which fields are displayed from left to right and top to bottom. Label: Specifies the displayed field label. Input Type: Required. Select Input, Select, or Password. If you choose Select, enter the available values. Min Length / Max Length: The default minimum and maximum lengths depend on the selected data type. The maximum length is 128 characters. Important: Select Save in the Field Configuration dialog when finished. |
| Custom Style File | Optional. Enter the path to a CSS stylesheet. You can use a stylesheet to control field presentation. |
| Custom Styles | Optional. Enter CSS rules to override the default styles. |
| Favorite | Select this checkbox to mark the template as a favorite. |
| Publish | Select this checkbox when the template is ready to publish. Important: A published template cannot be modified. |
- Select Save.
After saving changes in the Field Configuration dialog, you can preview the template.
ImportantSaving a field configuration does not save the template. Before leaving the Add/Edit Template page, select Save to save the template.
Previewing a Template
Save the template, select it from the list, and then select Preview at the bottom of the page.
Updating an Unpublished Template
- Select Manage > Templates.
- Locate the template, and then select Edit.
- Update the template settings as needed.
- To edit a custom field, select Edit in the field’s Actions column.
- Select Save in the Field Configuration dialog.
- Select Save on the Add/Edit Template page.
Updating a Published Template
Select Clone to create a duplicate of the published template. Modify and publish the cloned template as needed.
Viewing iFrame Code
The template must be published before you can view its iFrame source code. Select Sample at the bottom of the page, and then view the page source.
Implementing iFrames
Implementing an iFrame requires knowledge of HTML5, CSS, JavaScript, databases, and SQL.
Proxy Configurations
Proxy configurations determine how ShieldConex Proxy handles requests.
ShieldConex Proxy uses detokenization to securely relay sensitive data embedded in JSON or XML messages between a merchant and a processor. It accepts a request containing tokens, replaces the tokens with the corresponding sensitive values, and forwards the resulting request to an endpoint that requires the sensitive data. This process allows the merchant’s environment to operate without handling the raw data elements.
For more information, see the ShieldConex Proxy Guide.
To create a proxy configuration:
- Select Manage > Proxy Configurations.
- Select the applicable partner and client.
- Select Create Proxy Configuration.
- Enter a name for the proxy configuration.
- Generate a reference value.
- Paste the proxy configuration from the applicable API example into the configuration field.
- Replace each placeholder variable with the corresponding environment-specific value or authentication credential.
- Save the configuration.
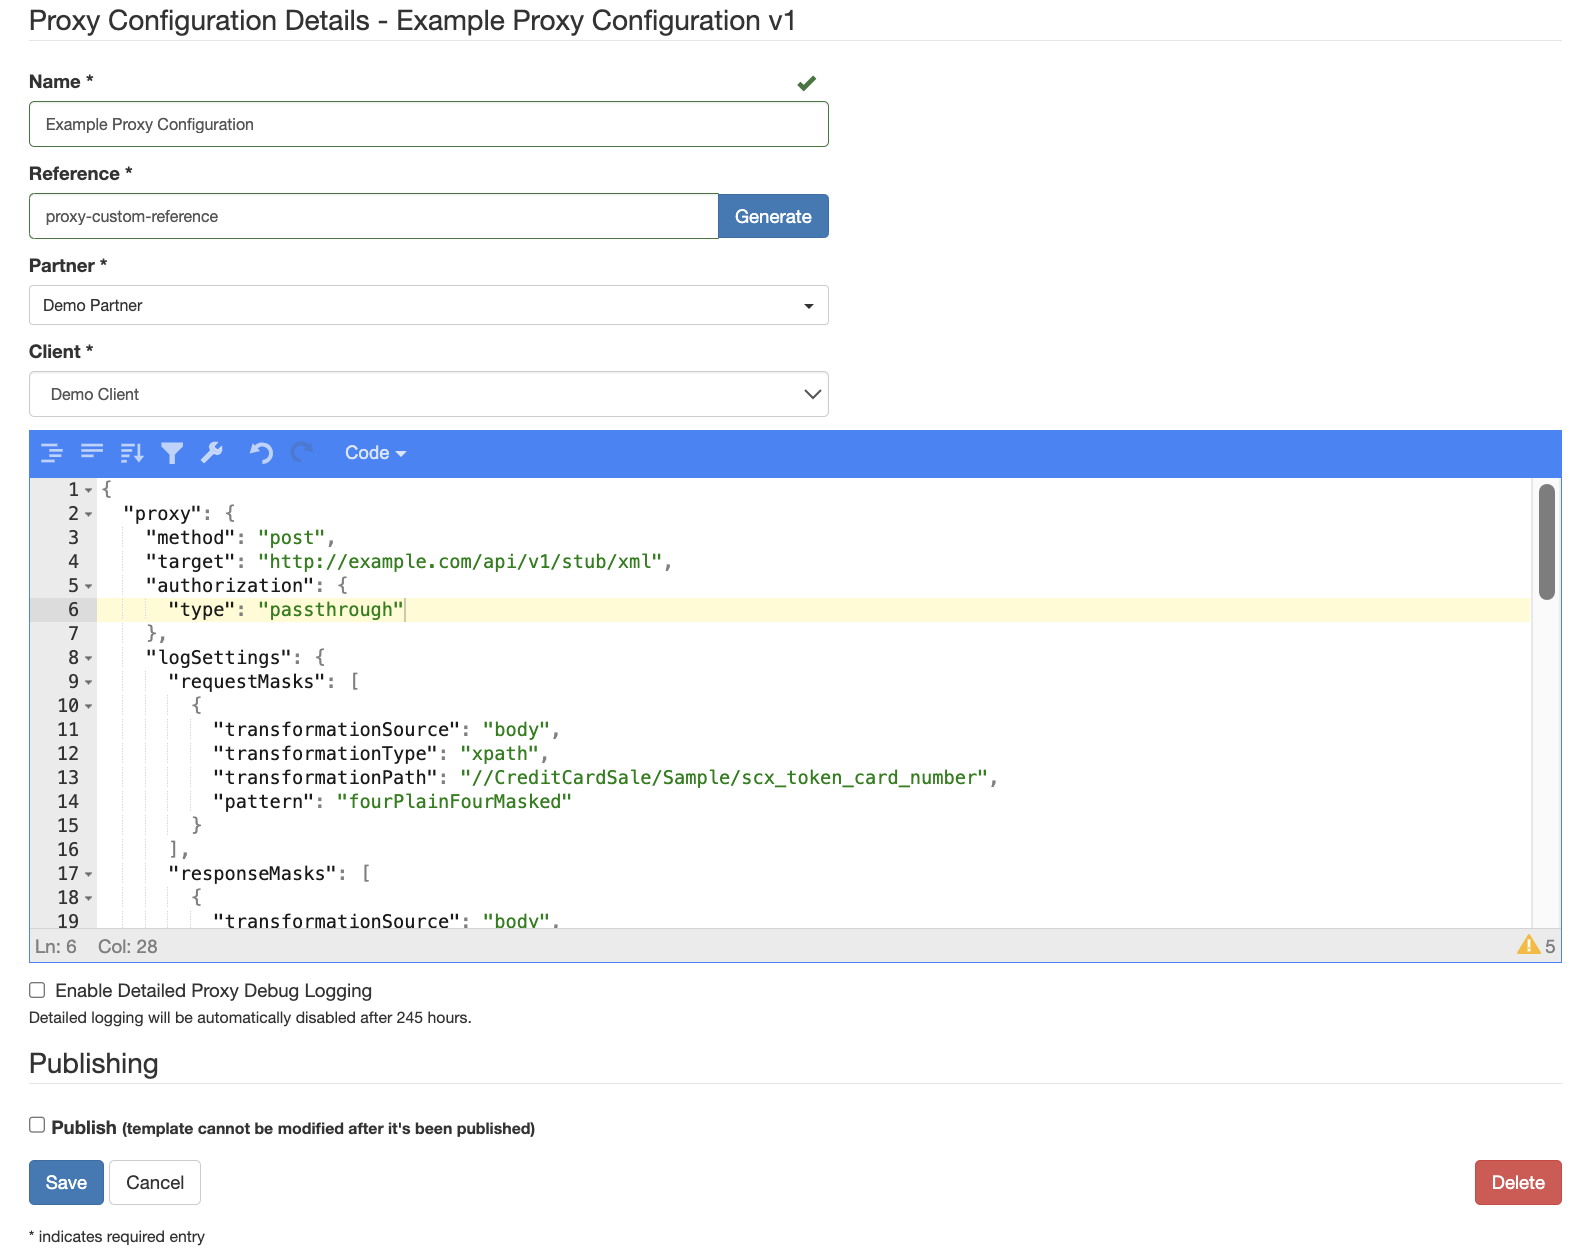
After saving the configuration, it appears in the list of available proxy configurations. The generated reference is identified as the configReferenceID in this documentation and is required when configuring a request.
System Notifications
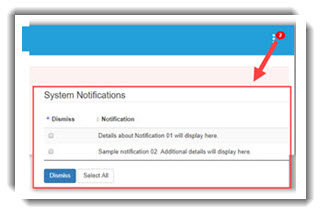
ShieldConex displays the notification banner when an administrator publishes an alert. After reading a notification, select it, and then select Dismiss to remove it. Select Continue to hide the banner.
To review unread notifications, select the red Notifications icon in the upper-right corner.
You can also review and dismiss notifications from Manage > System Notifications.
Updated 3 months ago