Getting Started
To fully integrate TECS Web for eCommerce, both the server side and the client side need to be defined and set up as follows:
- Server Side: Redirection (PHP, Java, C#, or other)
- Client Side: User interaction (JavaScript tecsweb.js)
This document demonstrates how to use PHP to generate server-side customer redirection URLs.
Bluefin TECS Payment Solutions also supports a management portal for testing, development, and production environments.
The portal (PAM) is powered by the REST API, referred to in this documentation as the merchant services REST API.
API Endpoints
The following are the API endpoints that Bluefin TECS Payment Solutions offers for both eCommerce and its REST API.
PAM Endpoints
| Environment Name | Endpoint |
|---|---|
| Development environment | https://dev.tecs.at/pam |
| Testing environment | https://test.tecs.at/pam |
| Production environment | https://consumer.tecspayment.com/pam |
REST API and Payment Gateway Endpoints
| Environment Name | Endpoint |
|---|---|
| Development environment | https://dev.tecs.at |
| Testing environment | https://test.tecs.at |
| Production environment | https://prod.tecspayment.com |
TECS Web Endpoints
| API Name | Endpoint |
|---|---|
| Payment Page URL | /tecsweb/tecswebmvc_start.do |
| Zero Amount Payment Page | /tecswebmvc2_verify.do |
| RETURN Page PROVIDED BY BLUEFIN TECS. See References. | /vterm/purchase.jsp |
| TecsWeb JS | /tecsweb/js/tecsweb.js |
| Management Portal | /pam |
Quickstart Guide
Authorization Credentials
You must have authentication and merchant keys provided by Bluefin TECS Payment Solutions:
- Merchant ID (or terminal ID)
- SecretKey (namely, MerchantSecretKey - used for HMAC and URL generation)
PHP Server
To quickly integrate TECS Web or understand its components, you can start a simple local PHP server as follows:
php -S 127.0.0.1:8000 -t .
You set up index.php with simple routing logic:
index.php
<?php

$request = $_SERVER['REQUEST_URI'];

if ($request === '/') {
  require __DIR__ . '/src/create-payment-url.php';
} else if(strpos($request, '/payment-response') === 0) {
  require __DIR__ . '/src/payment-response.php';
} else {
  http_response_code(404);
  echo "404 Not Found";
}

?>
Install PHP SDK via Composer
- After installing composer and create the composer.json file, add the following to
composer.json:
{
   "repositories": [
       {
           "type": "composer",
           "url": "https://repo.tecs.at/repository/composer-tecs-public/"
       }
   ]
}
- Execute the following command on your terminal:
composer require tecspayment/tecsweb-b2b-integration-php:2.4.0
For more details on the PHP SDK installation, please check the package repository on GitLab
Creation of TecsWeb Request Token
Using the TecsWeb SDK, the TECS Web request token is built as a URL to which the customer has to be redirected. The merchant’s secret key must be stored securely on the server side. Therefore, this procedure should run on the server side.
TECS Web SDK
- Install the PHP SDK.
- Create the
create-payment-url.phpfile with the following script:
<!DOCTYPE html>
<html>
  <head>
    <?php
      require '/path-to/tecsweb-php-lib/loader.php'; // composer: require 'vendor/autoload.php';


      $tecs = new \Tecs\TecsWeb(
          'SecretKey', // Private Secret Key provided by Tecs
          'MerchantId',      // Merchant ID provided by Tecs
          'https://test.tecs.at/tecsweb/tecswebmvc_start.do' // URL of Payment Portal
      );

      function padZero($num)
      {
        return str_pad($num, 2, '0', STR_PAD_LEFT);
      }

      function makeTransactionDateTime()
      {
        $currentDate = new DateTime();

        $year = $currentDate->format('Y');
        $month = padZero($currentDate->format('n'));
        $day = padZero($currentDate->format('j'));
        $hours = padZero($currentDate->format('G'));
        $minutes = padZero($currentDate->format('i'));
        $seconds = padZero($currentDate->format('s'));

        $formattedDate = $year . $month . $day . $hours . $minutes . $seconds;
        return $formattedDate;
      }


      try {
          $tecsWebRequestToken = $tecs->createSignedUrl([
              \Tecs\TecsWeb::AMOUNT         => '100',
              \Tecs\TecsWeb::TX_ID          => '1000010165',
              \Tecs\TecsWeb::TX_CURRENCY    => 'EUR',
              \Tecs\TecsWeb::TX_DESC        => 'Transaction Description',
              \Tecs\TecsWeb::RECEIPT_NUMBER => '123456',
      	      \Tecs\TecsWeb::RETURN_URL     => 'http://127.0.0.1:8000/payment-response',
              \Tecs\TecsWeb::TX_DATE_TIME   => makeTransactionDateTime(),
              \Tecs\TecsWeb::EC_DATA        => "INST;"
          ]);
          // Provide the value of $tecsWebRequestToken to HTML/JS template
          // echo($tecsWebRequestToken);
          // OR Make redirection
          // header("Location: {$tecsWebRequestToken}");
          // die();
      } catch (\Exception $e) {
          // ... Handle exception
      }

      ?>
    <script src="https://test.tecs.at/tecsweb/js/tecsweb.js"></script>
  </head>
  <body>
    <div>
      <div id="tecsweb-payment-wrapper"></div>
    </div>
    <script>
      var $tecsWebRequestToken = "<?php echo $tecsWebRequestToken; ?>";

      TecsWeb.redirect(
        $tecsWebRequestToken // value of $tecsWebRequestToken
      );

    </script>
  </body>
</html>
Using HMAC SHA-256 hashing, this process securely redirects the customer to the TECS Web interface payment form, where they can input their payment (card) details along with the transaction amount.
The payment portal determines the type of hashing algorithm used in the request URL signature based on the hashed signature length. For more on secure hash, refer to Secure Hash and Manual Hash Calculation.
Based on the parameters passed into createSignedUrl, the HMAC signature is generated with the rest of the URL parameters put together as a query. For example:
https://test.tecs.at/tecsweb/tecswebmvc2.do
?mid=11450002
&sign=D041F147F45DC9270C691136CD3A28E53F9D55394E7969F2D82F1255D8B6B030
&amt=800
&txid=1003812387331892
&txcur=EUR&txdesc=Transaction+Description
&receiptnumber=123457
&rurl=http%3A%2F%2F127.0.0.1%3A8000%2Fpayment-response
&Date-Time-TX=20240522143437
&ecdata=INST%3B
To learn more, refer to PHP SDK REFERENCES and Request URL Creation Parameters.
Processing the Response
After completing the payment, the customer is automatically redirected to the designated return URL specified in the SDK parameters in the section Creating a TECS Web Request Token above.
The landing URL that the customer gets redirected to is treated as a TECS Web response token. The validity of these tokens must be verified using Bluefin TECS SDK on the server side, where the secret key is securely stored.
The TECS Web response token is formed by incorporating the return URL specified in the TECS Web request token, along with additional response parameters appended to this URL.
<?php

require __DIR__ . '/../tecsweb-php-lib/loader.php'; // composer: require 'vendor/autoload.php';

$tecsWebResponseToken = $_GET;

$tecsWebResponse = new \Tecs\TecsWebResponse(
    'SecretKey',   // Merchant Secret Key
    $tecsWebResponseToken
);

// FIRST WE CHECK IF THE RESPONSE HAS VALID SIGNATURE.
// IF NOT THEN CREATE LOG AND REDIRECT TO OR INCLUDE ERROR PAGE.
if (!$tecsWebResponse->isSignedCorrectly()) {
    $payloadToLog = $tecsWebResponse->getAllData();
    // Instead of echoing, you place the message to your HTML
    echo ('The result of payment has been incorrect! Please contact support.');
}
// IF THE RESPONSE WAS SIGNED CORRECTLY, LOG TRANSACTION RESULT AND SHOW RESULT PAGE BASED ON RESPONSE CODE
// FOR AVAILABLE RESPONSE CODES AND MESSAGES, SEE TECSWEB DOCUMENTATION
// YOU HAVE ACCESS TO THE RESPONSE VALUES WITH GETTERS
else {
    $payloadToLog = $tecsWebResponse->getAllData();
    $txid = $tecsWebResponse->getTXID();
    $responseMessage = $tecsWebResponse->getResponseText();
    $responseCode = $tecsWebResponse->getResponseCode();
    // instead of echoing you place the message to your HTML.
    echo ('Transaction id ' . $txid . '; responseCode: ' . $responseCode
          . '; authorization result: ' . $responseMessage);
}

?>
To learn more about TECS Web response and its class members, refer to PHP SDK REFERENCES.
Embedding a Web Iframe or Button
In addition to TecsWeb.redirect, the TECS Web JavaScript client-side SDK also supports iframe and button embedding.
To ensure maximum security, the web iframe implements Content Security Policy, Merchants must specify the shop_frame_ancestor on Merchant Registration, which should be the URL of their shop. This setting can be updated later by Bluefin TECS if needed.
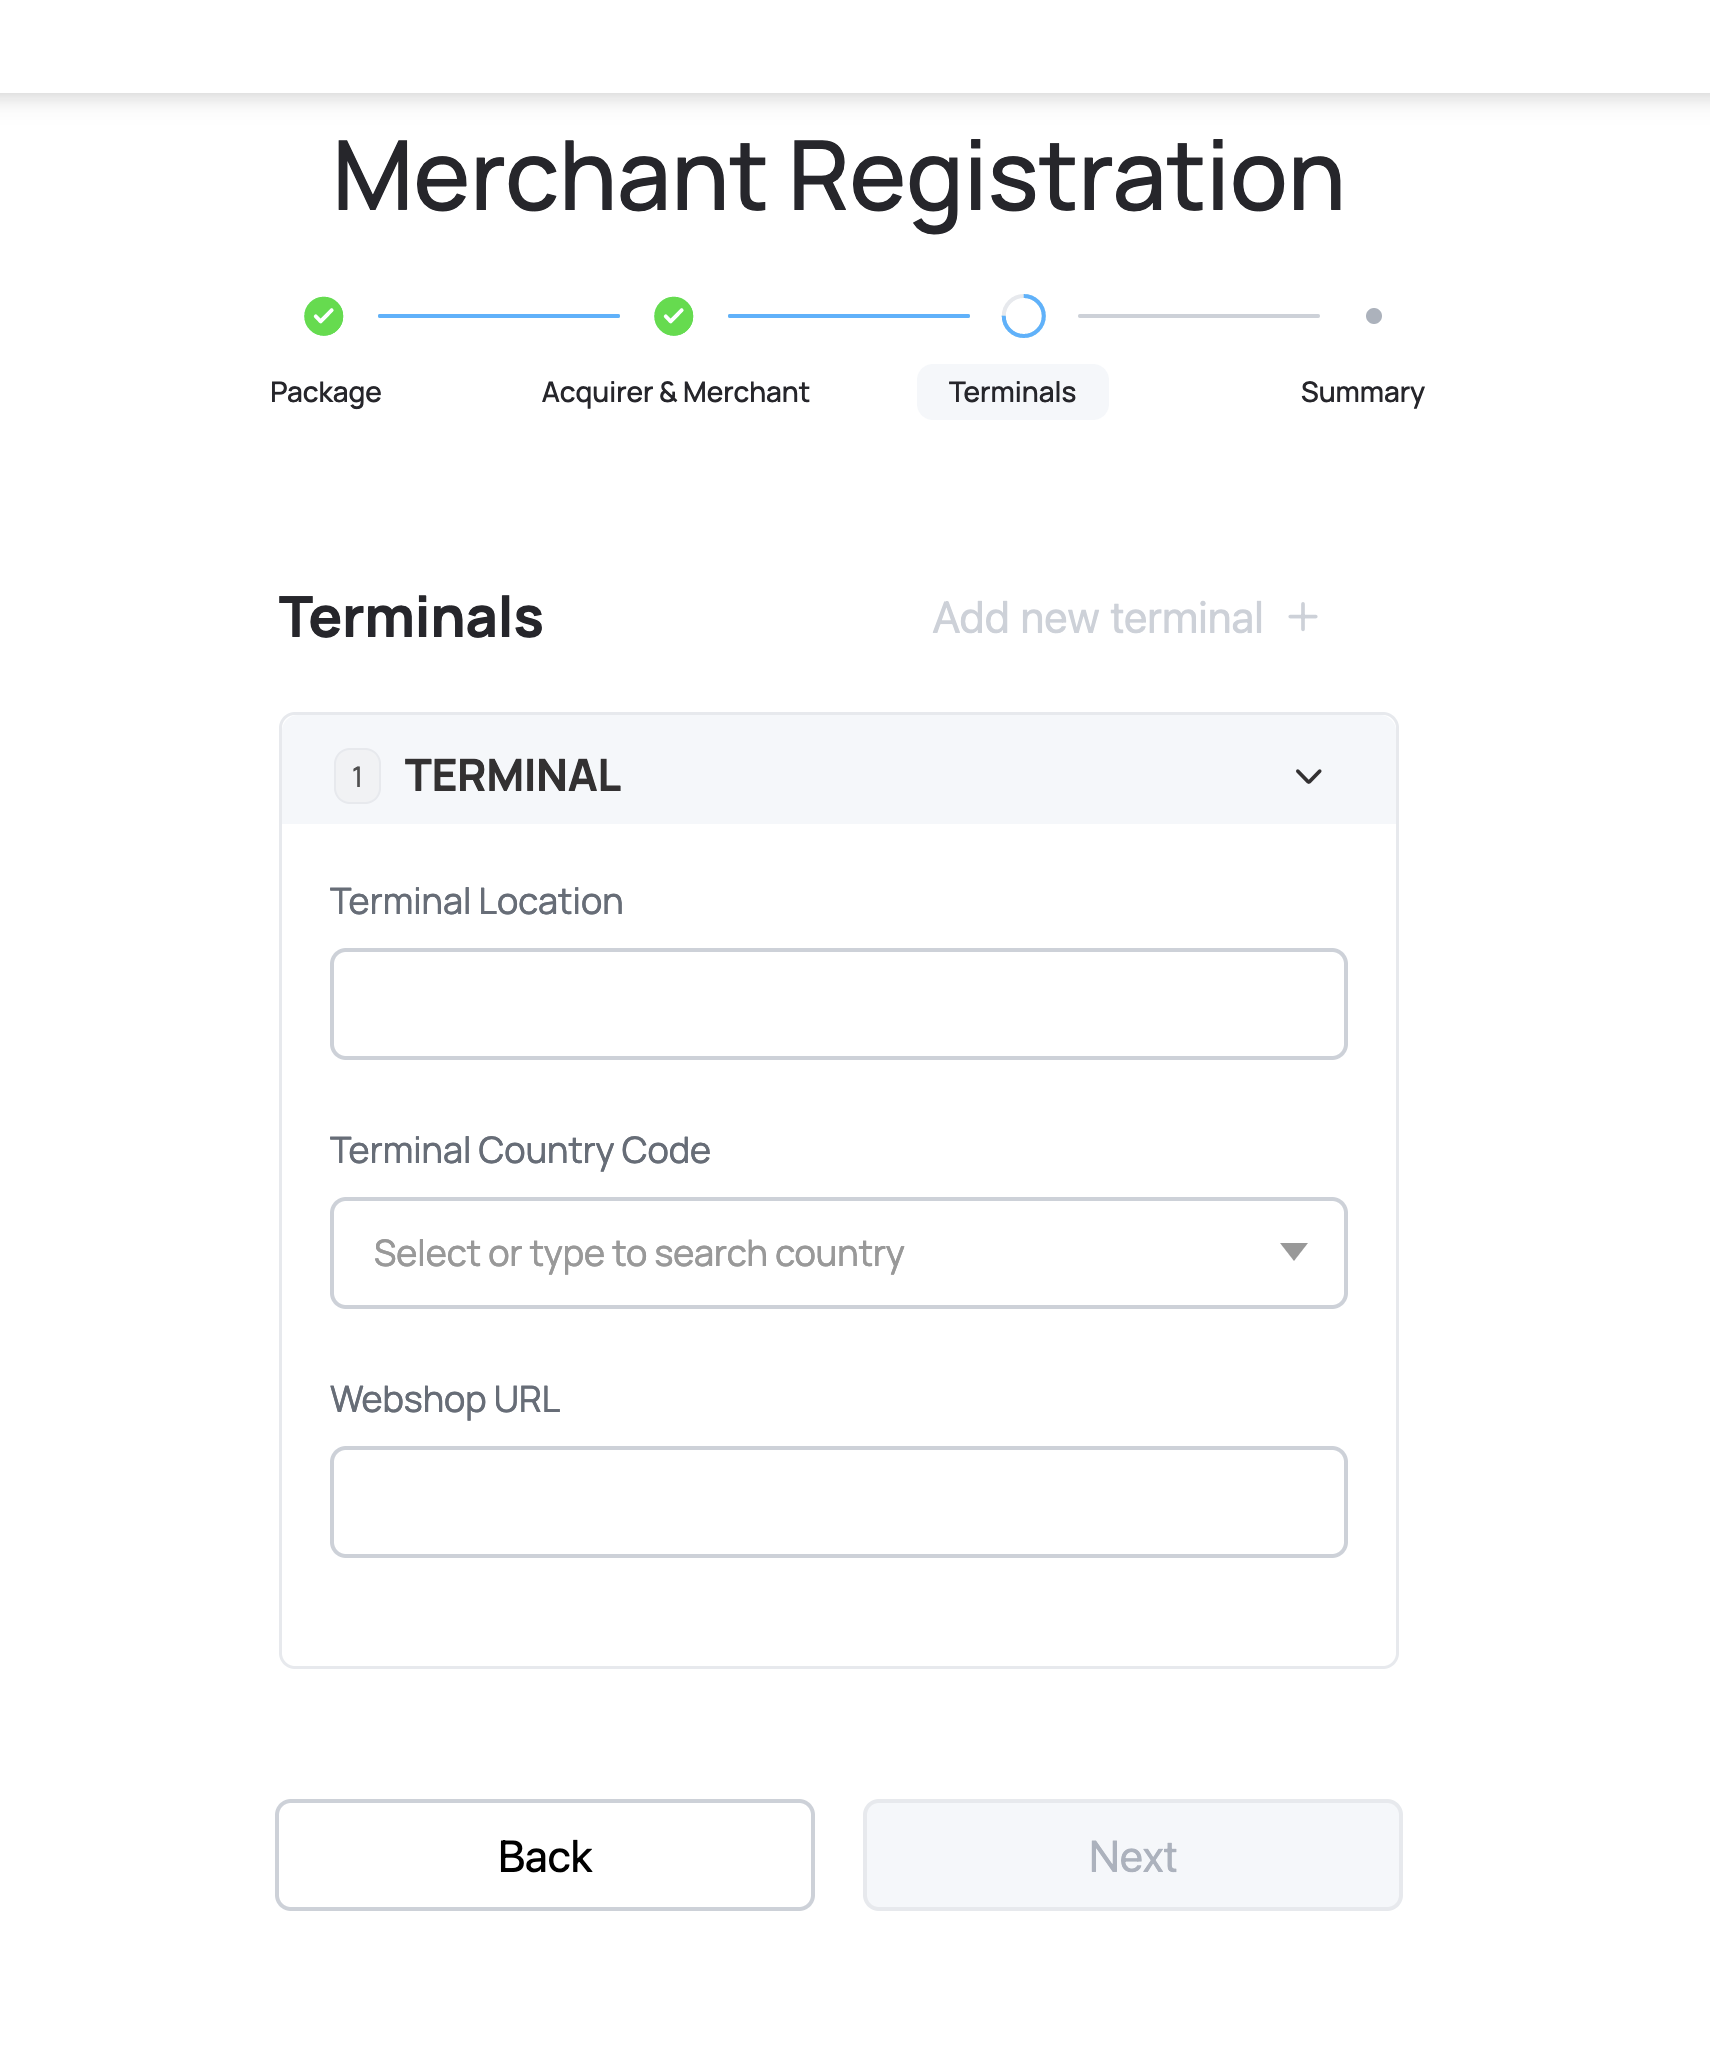
Merchant Registration
Otherwise, the webshop would result in triggering the following error.

IFrame Content Security Policy
NOTE: You can create either a button or an iframe with tecsWebRequestToken but NOT both.
// Creating a button
TecsWeb.createButton('tecsweb-payment-wrapper', $tecsWebRequestToken);
// Creating an iframe
TecsWeb.createIframe('tecsweb-payment-wrapper', $tecsWebRequestToken)
TecsWeb.createButton(elementId, token, styling)
elementId(string) (required) - the html element where the button is mounted totoken(string) (required) - TecsWebRequestTokenstyling(object) (optional) - styling options for the button (e.g., label, colors, size)
TecsWeb.createIframe(elementId, token, styling)
elementId(string) (required) - the html element where the iframe is mounted totoken(string) (required) - TecsWebRequestTokenstyling(object) (optional) - styling options for the iframe (e.g., colors, iframeSize)
Customized Appearance
// Button Styling
{
  label: `Order for 1 \u20AC`,
  style: {
    backgroundColor: '#066fc9',
    color: '#FFF',
    borderRadius: '6px',
    border: '2px solid #066fc9',
    cursor: 'pointer',
    fontSize: '16px',
    padding: '8px 16px',
    fontWeight: 'bold'
  },
  styleHover: {
    backgroundColor: '#0680dd'
  },
  styleDisabled: {
    backgroundColor: 'rgb(115,141,201)',
    color: '#d6d4ff',
    border: '2px solid #066fc9',
  },
  scrollBar: false,
  iframeSize: 'medium', // small,  medium, large (medium is default)
  hideOnOpen: false,
  onPopupClose: () => confirm('Your callback after close')
}
// Iframe Styling
{
  backgroundColor: '#eee',
  scrollBar: true,
  iframeSize: 'small', // (small | medium | large), medium is default
}
Customized Appearance Configuration
-
iframeSize(string) (Optional):"small"|"medium"|"large""small"-width: 500px, height: 1350px"medium"-width: 800px, height: 1400px"large"-width: 1000px, height: 1000px
-
width | height(string | number) (Optional):-
For further customization of the iframe size, these are set in the following format
number:100- this turns into"100px"string:"100px" | "50%"
NOTE: These options overwrite the
iframeSizeoption
-
Updated 3 months ago
Use one of the API Examples to follow the Quickstart Guide, then check out the Example Use Case - source code available at the bottom of that page.